Showing posts with label charm. Show all posts

Thursday, 10 May 2012

Baking Charms and Tag

The theme over at Tag Tuesday is: Baking ... something very close to my heart (lol). When I set out to create the tag, I could not really decide what to do - there is too much choice. But then I remembered Terry's fantastic Shrink Plastic tutorial over at Frillie and Funkie and thought it would be quite good fun to make some baking charms
I had  not played with Shrink Plastic for quite a long time and had forgotten about all the pitfalls especially when using the heat gun! For the little cupcakes I stamped the images (Hero Arts) with Archival ink on the plastic, cut them out and coloured them with Koh-i-noor pencils and then punched a hole. For the baking label I cut a shape with Nestabilities and inked the shape with distress ink (Antique Linen) using a soft brush. Then I stamped the label (Waltzing Mouse) with Versamark Magic on the plastic. Once the ink was dry, I did a spot of colouring using the colouring pencils.
I am always so amazed how much images shrink ... the label is about 3cm in height, the cupcakes about 1 cm - they are tiny. One of them I used to make a very simple tag using the baking label stamp, layering the label on Bazill card and embellishing it with some paper flower, pearl and some ribbon - have a lovely evening, Petra.


Tuesday, 6 September 2011

Let's Reuse - Paperbeads

Have you ever asked yourself what to do with all these advertising brochures which come through your letterbox? Quite often they have a good size, nice colours and the paper might have an appealing texture. With Vicki's new challenge at the Cheerful Stamp Pad: Let's Reuse I decided it was time to do something with these brochures which are sort of piling up in my crafty corner.

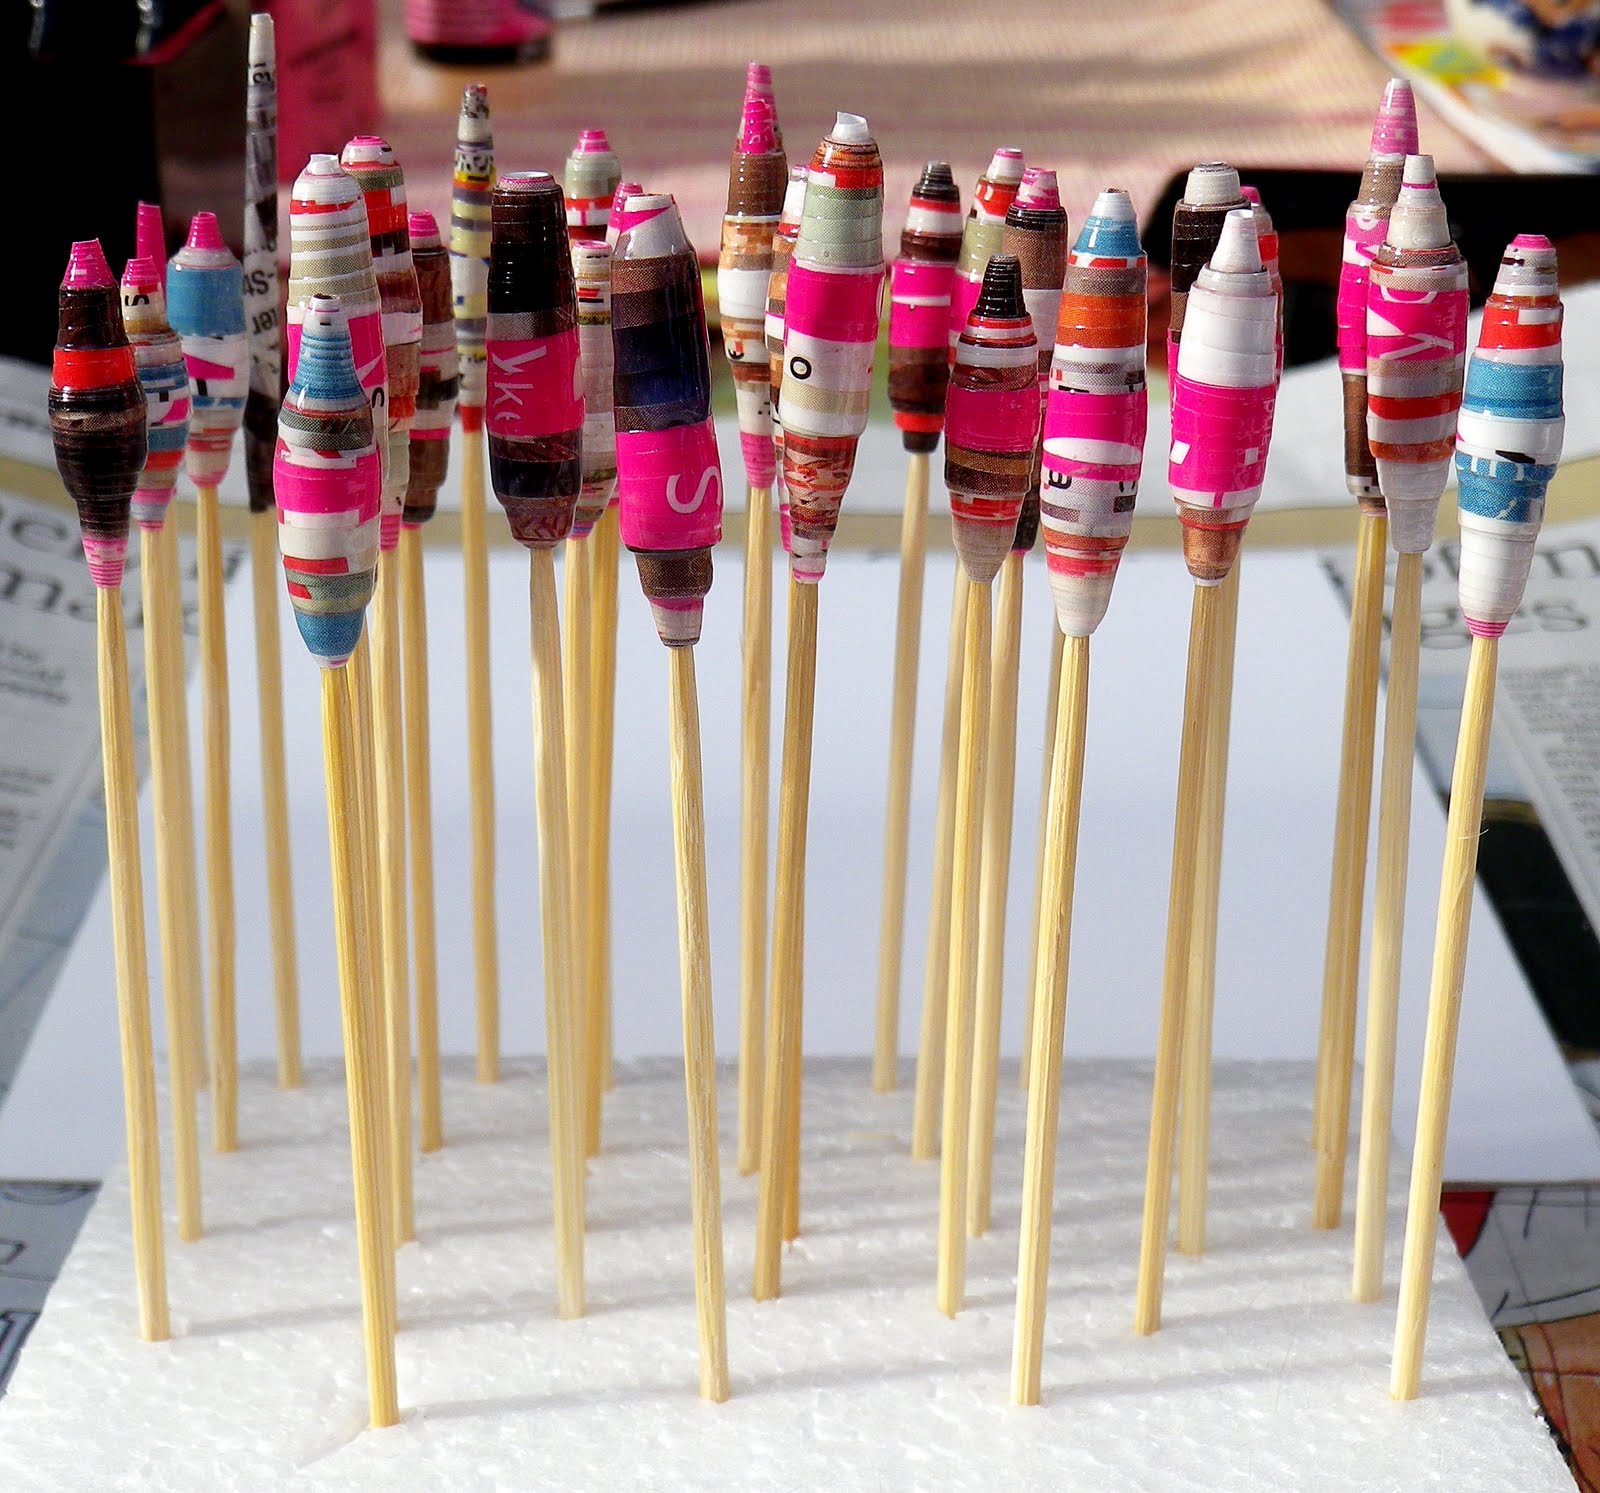
I started to cut one of the brochures in triangles - very long and pinty but very slim to make paperbeads. I would have never imagined this to be so much fun and thought I make a little tutorial to share it with everybody:
1 It all starts with long pointy thin paper triangles


2 Take one of them and find something round like a knitting needle (just make sure that it is thick enough to leave a nicely sized hole in the middle of your beads) and begin rolling the paper around the needle starting on the wide end. Roll it as tighly as possible and as regular as you wish - paper is amazingly flexible and don't worry if it gets ripped in the process, just add it on maybe securing it with a little dab of glue


3 I only add some glue to the paper when 3 to 5 cm of the paper left, continue to roll. Don't worry if some glue squidges out on the sides just continue with the rolling


4 Once you have finished give the glue a few seconds to settle and then the bead of the needle


5 What to do now with such lovely beads? For stability and to smooth the surface I covered some with Modge Podge and some with glossy accents. Of course, you could also paint them with acrylic paint, roll them in Versamark ink and emboss them with UTEE, ..... and turn them into wonderful embellishments, charms, .....


Of course, you can give the beads different shapes, sizes and uses. Just have a play, it is so much fun but be aware ... it is addictive as well! Hope to see you over at the Cheerful Stamp Pad, Petra.

LinkWithin

Related Posts with Thumbnails